My wife and I have a number of Christmas traditions that are challenging exercises in creativity. One is creating a fun Christmas card. Another is developing and executing a unique gift-wrapping theme. We also create a hand-made gift for the other person. And finally there’s the creation of the Christmas tree. This will be our third year creating a tree. We work on many of these projects together, but occasionally one of us will tackle a project on their own. Last year my wife handled the tree making duties 100% and I wanted to share her creation.
Kate found a tutorial for creating a “no-sew” Christmas tree skirt using only fabric and hot glue. But instead of making a skirt, she adapted the process to creating the tree itself.
She started out with a large semicircle of fabric. This is the base for the rest of the fabric and won’t be seen. How large should this be? Well, the radius of the semicircle will end up being the height of your tree, so size your semicircle accordingly. Ours was relatively small.
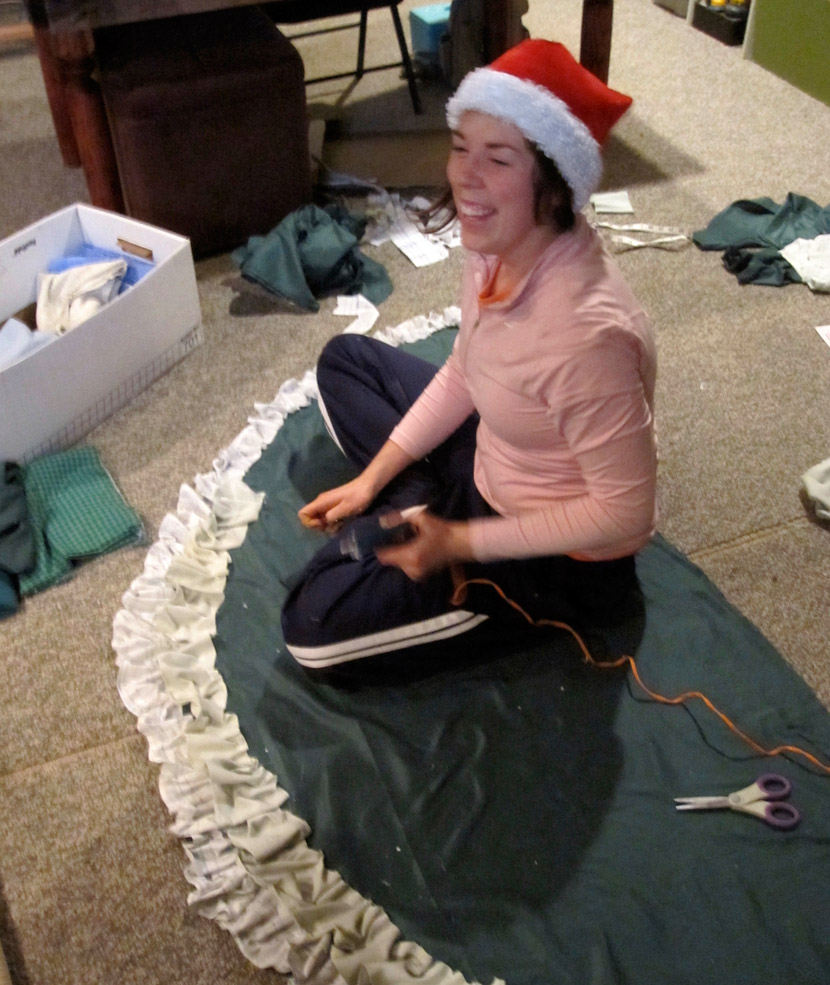
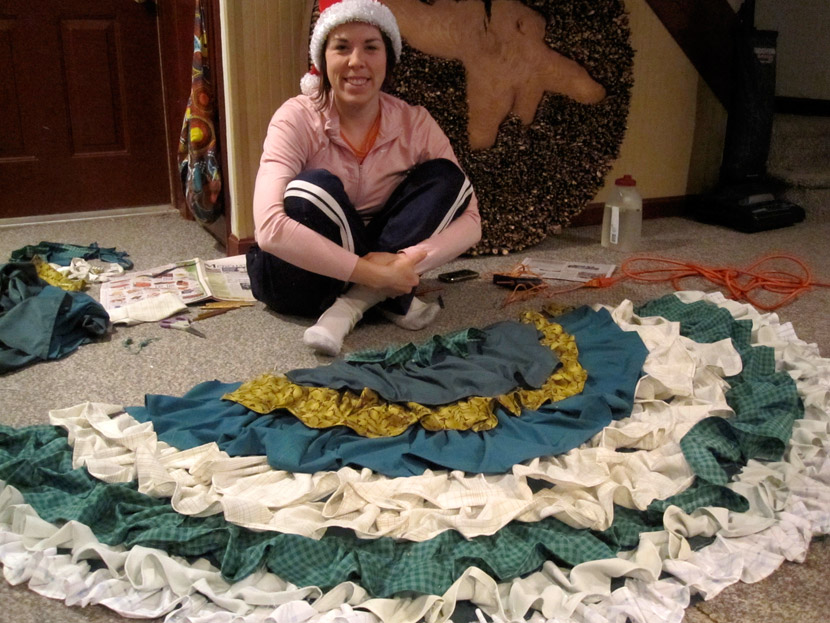
The process is then straighforward. Cut a strip of material and glue it down along the outer circumference. But don’t simply glue it flat—ruffle it as you glue. Then continue to lay down additional strips of material, moving closer and closer to the center point. Each layer should slightly overlap the previous layer. Your strips can be thick or thin. Thinner strips will make your process significantly longer, but will give you a more detailed tree. Regardless of whether you go thick or thin, mix it up! You’re normally going to get better results by changing up the sizes of your strips to some degree.
Now you need a base form—something to wrap your fabric around that will give the tree the needed tree shape. Kate found this to be the most challenging step. There are many potential solutions. She ended up using chicken wire. For a smaller tree like ours, that worked fine. For a larger tree, you may need additional support. Look around your house and garage and find what works for you.
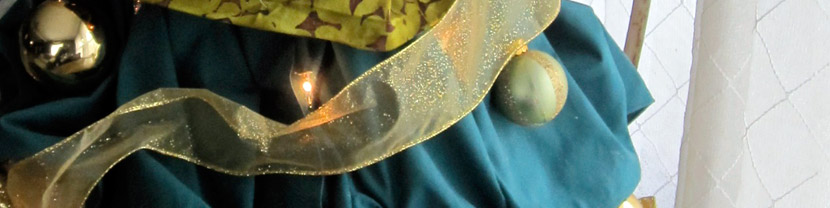
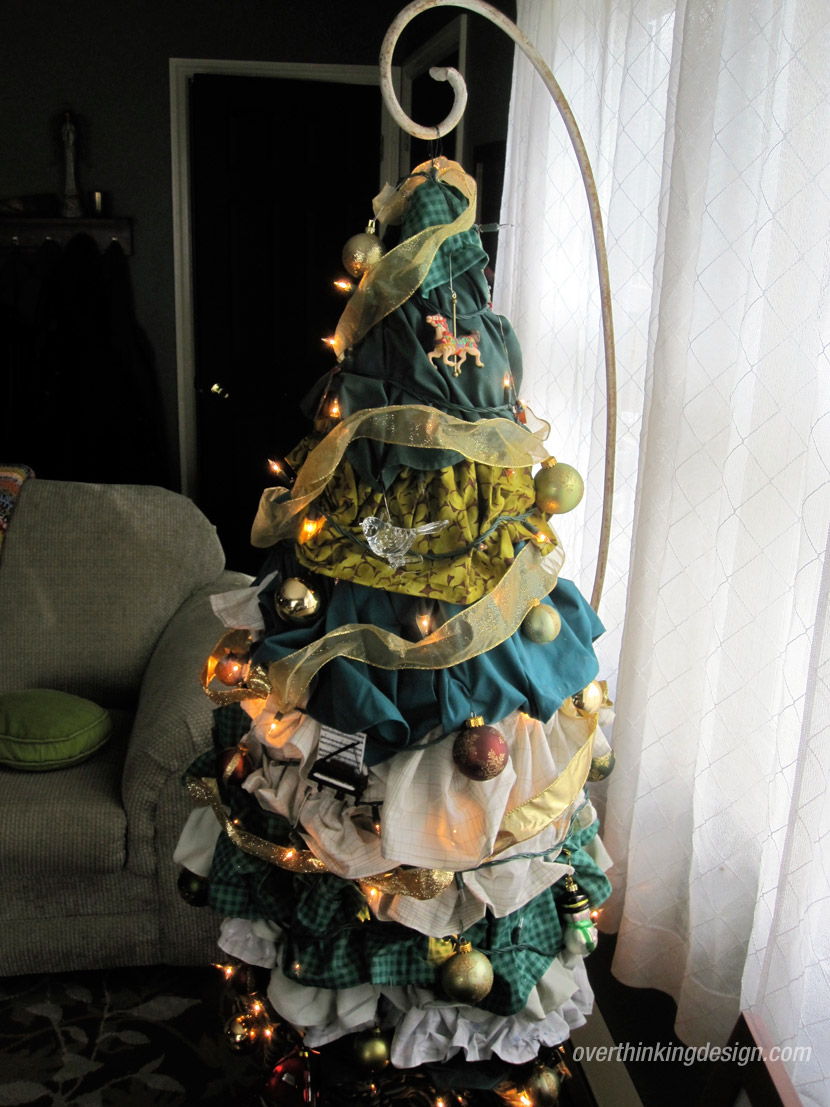
The fabric is then wrapped around the form. You can use your old friend, hot glue, to attached the wrapped ends together. You’ll also need to consider the base. Depending upon the strength of your form, you could simply set the whole thing directly on the ground. Or you could hang it! In our case, we had an antique bird cage holder I had bought for Kate as a birthday present. We removed the bird cage and hung the tree from the holder. This worked out perfectly and the funky holder added a nice touch to the finished product. But you could also hang your tree from the ceiling using a plant hanger/hook. Don’t worry too much about trying to hide the string or rope used to hang the tree. Embrace it. Make it part of the design. Consider attaching photos of Christmases past, or ivy, or…whatever!

Then comes the fun part—decorating. This tree can be decorated just like a traditional Christmas tree. You may want to string some lights around it first to provide yourself with something easy to hang the ornaments on.
The concepts here are simple, but it will take time. So warm up that glue gun and please—share your creation below!


This is amazing! I wish that I had this level of crafting skill. I love the idea, though.