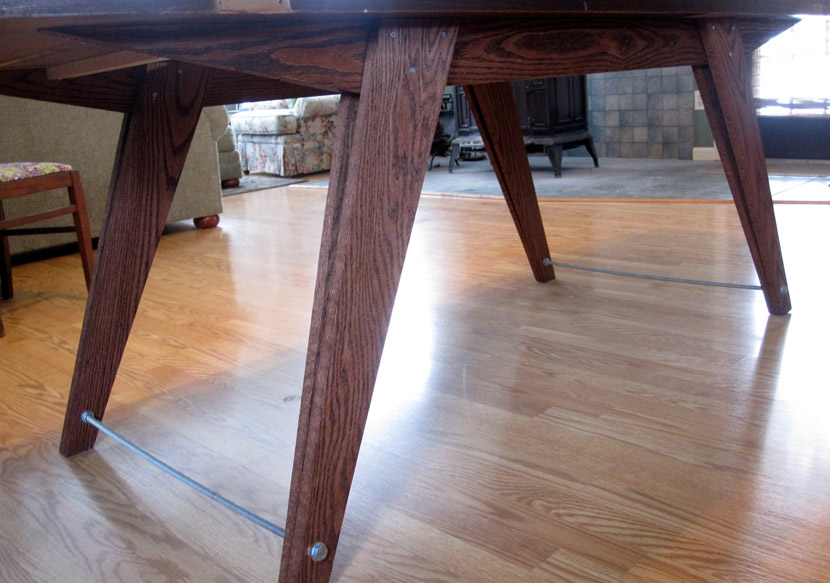
While still engaged, my future wife (Kate) decided we should make a table using a door as the table top. We’ve since collaborated on a number of projects, but this was the one that started it all and it was an adventure—a learning experience for sure. She’s an off-the-cuff creative person. I’m a sit-down-and-plan-carefully creative person. I’ll give you the moral of this post right at the start: compromise! But more on that later. This post is going to focus on the table top itself. While I’m tickled with how the legs came out (especially given my lack of a table saw), they were built based on a great article I found online which you can check out for yourself.
The first step of our project was shopping for a door. This was before we knew there was an architectural salvage barn just down the road from where I lived. The place we were familiar with was Building Character in downtown Lancaster, PA. It’s become less salvage-oriented over the past couple years, but is still a great place.
At the time, they had a row full of old doors. We found one we liked with a single large inset area. This was important. And apart from the inset, the table was unadorned. As we made our purchase, the owner asked us our plans. We told him our goal of making a table using a door and also shared our plan of filling in the entire inset area with a mosaic. He loved the idea and instantly wanted to be of more help. He told us there was a dumpster outside the building where a lot of ceramics were often thrown out and gave us permission to go dumpster diving. With Kate standing by, I crawled through the side access panel into the dumpster. Jackpot! There were a number of pieces which we scavenged (along with a few other oddities). Over the next few weeks we made additional cheap purchases at Goodwill and other thrift shops. Adding these to our own collection of unneeded pottery and ceramics, we covered the pieces with cloth and gently broke them down with a hammer.
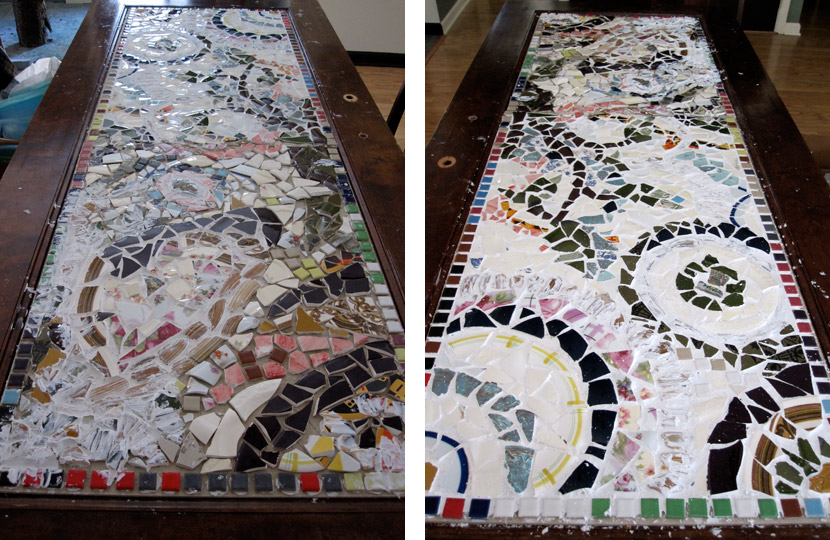
We bought two pieces of tile backer board that, when placed together, would fit perfectly into the table’s inset area. We decided to create the mosaic on the board before installing it into the door. And so began the mosaic process. Here’s where compromise kicked in. I would have developed a very thorough plan for the mosaic, drawing up plans and mapping out colors. Kate wanted to wing it. And as she would be doing a large part of the mosaic, I agreed with her plan. We introduced vague representational elements—there’s a bird and a tree you may be able to spot—but for the most part the work consists of patterns and flows.
Neither of us is an expert at mosaics. We learned as we went along and made our share of mistakes. When adding grout between pieces, be sure to always clean off the top surfaces before the grout dries! The cleaning and finishing process becomes much more difficult once the grout has dried. We also decided to use seashells in portions of the mosaic. I’m not talking about the classic scallop shape, but rather oblong flat pieces that I once collected in the Outer Banks of North Carolina. Stylistically, I’m not sure I’d go that route again, but the biggest issue with the shells was their textured surface. The tiny grooves proved very difficult to clear of grout. A wire brush did the job, but not easily.
With our mosaic finally complete, it was time to insert it into the table. We were now forced to make a decision on finishing. My original plan was to flood the table top with a clear epoxy coating. You can find two-part products made just for this purpose. However, to flood the entire table would take a lot of product and therefore a lot of money. Plus after researching the process, it sounds like it’s difficult to do right. It’s easy to end up with trapped bubbles and it can yellow over time.
We decided to go with plan B. We would place the mosaic within the table’s inset area, then cover just that area with a large piece of tempered glass, custom ordered to size. This would have been simple had not the height of our mosaic prevented the layered glass from being level with the table top. I would have to lower the inset. Around the inset was decorative trim. This was delicately removed, taking care to prevent chipping and denting. I then cut the inset board out of the table, staying as close to the edges as possible. I then added a series of braces across the now-open space, screwing them to the bottom of the door. The inset board, having been placed on top of the braces, was now much lower than before. Re-adding the trim was a bit tricky, but it worked. Finally, the mosaic was placed on top of the inset board.
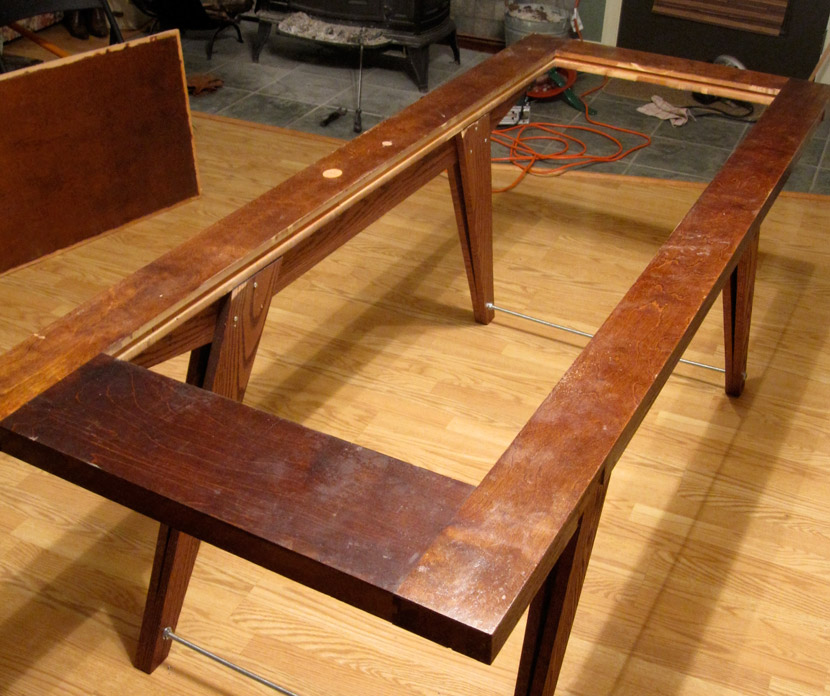
I can’t say I totally planned this, but the trim ended up working nicely as a shelf to hold the glass just above the top of the mosaic. And the placed glass was now flush with the outer wood of the table. After adding a line of caulk to seal the space between the table and the glass, the project was complete.
As a centerpiece of our dining area, the table is a great conversation piece. I’d love to make a pair of benches to go with it some day, but for now we’re enjoying our table. We’re still trying to figure out what to do with the holes where the door knob and related hardware used to be. We could simply fill it in, but are hoping for a more interesting solution. Any ideas? Have you created a table from a door? Share your experience below!