I like traditions. In our first year of marriage we were given a free Christmas tree as a gift from the farm where we had our wedding reception. Before setting up the tree I cut a short piece off of the trunk, as is normally recommended. I kept that piece, planning to make a collection of stump pieces from each Christmas.
That tradition lasted a total of one year.
In our second year of marriage, it was replaced with a new tradition: making our own Christmas tree. Rather than spend thirty to fifty dollars on a tree, we decided to build one. This was a project we tackled realizing it could turn out really… cheesy. But we’re both artists and aren’t deterred by that possibility anymore.
Pole Position
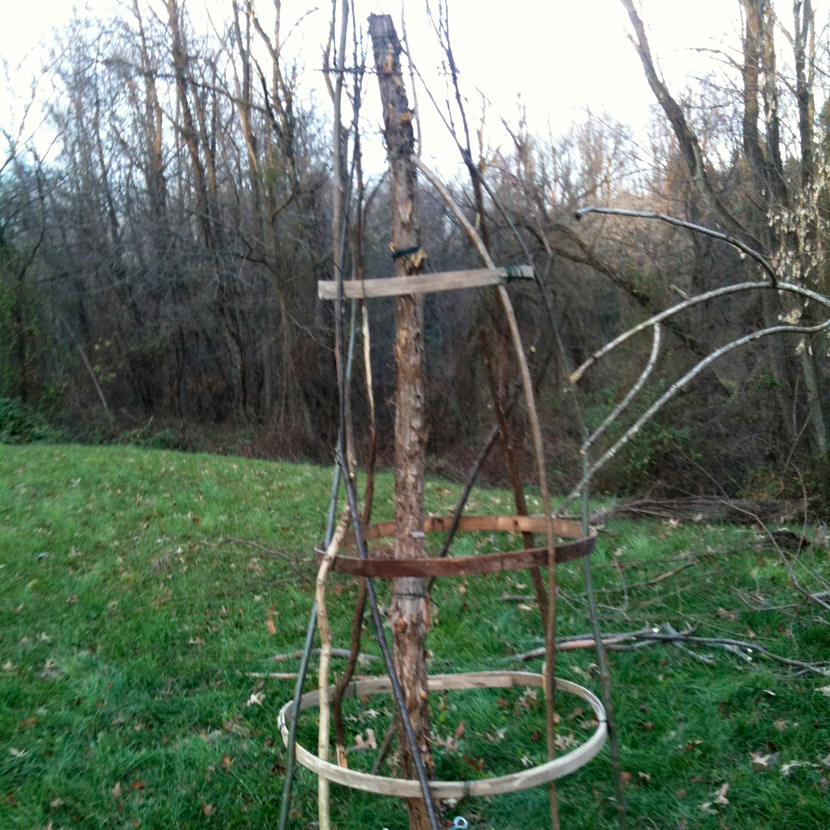
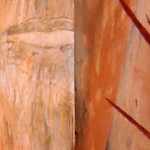
We started out with a cedar trunk which we purchased from our neighbors who have a business selling recycled building materials and all types of random wood pieces. You can harvest any kind of thick, non-rotting branch from the woods for this step. The trunk was secured to a standard Christmas tree base. You’ll want a sturdy base. Our stand was a bit too cheap and had trouble supporting the tree as it became heavier.

Fellowship of the Rings
With the main pole securely in place, we found four rings. The largest was about three feet in diameter and the smallest about one foot. We ended up using barrel laths, again purchased from our neighbors, and one metal ring. You can use any number of materials for these, but the rings will need to be strong. And four turned out to be the perfect number for a tree that’s approximately seven feet tall. Each ring was hung from the main pole of the tree with craft wire. The wire connected each ring to the tree at three or four points.
Find a Support Group
Next we found four main sticks that we wove up each quadrant of the rings as primary supports. These four should be fairly straight and not overly flexible. These should have more girth than any other pieces you’ll be adding down the road. Along with adding overall support, they also help to secure your four rings in place so that they’re no longer fully dependent upon the wire.
True Weaving of Christmas
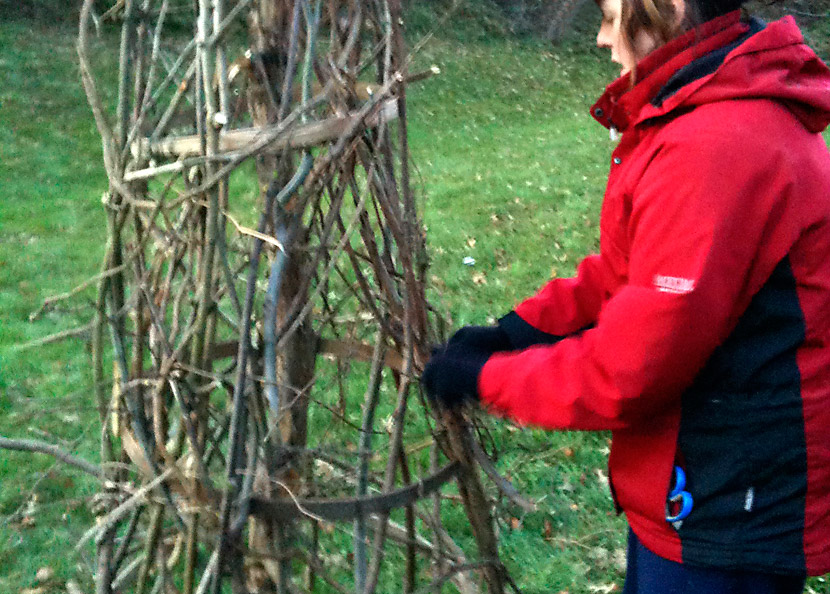
This brings us to the full weaving stage. You’ll need access to a wooded area or a space that has many fallen twigs and branches. Find long sticks. Find vines. Start weaving them in and out of the rings and the support sticks. Keep adding more. Weave them in and out of each other. Start with thicker sticks and move to thinner ones as things start to fill in. Regardless of thickness, stick with longer pieces. Keep weaving them in and out as much as possible. This will create an overall strength to the structure. And this is the most time-intensive part. Be patient and have fun with it!
Be aware of the width of your tree as you build it up. Make sure it’s going to fit through the doorway to your house! I was surprised to discover our tree was a very tight fit.
A Star is Born
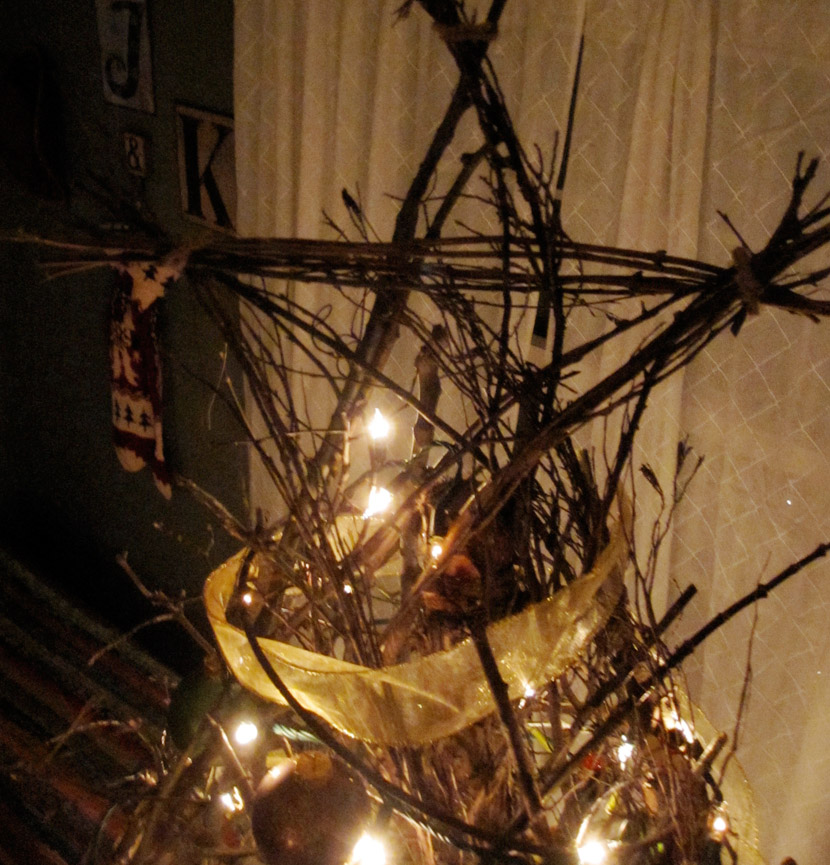
Let’s talk about the top of your tree. As you weave, leave some longer pieces stick out the top. These should be thinner, flexible pieces. Instead of adding a bow or plastic star to the top, why not build the top right into the tree? I decided to build a star, a central element of the Christmas story. Using the long pieces at the top, I formed four bundles. Two were joined together to form the main point of the star. I tied them together with a piece of scrap cloth and trimmed of some of the excess. The remaining two bundles were pushed out to either side and I added a horizontal cross bar (made of twigs) to connect the two. These formed the next two points of the star. The final two points are insinuated and were not actually built.
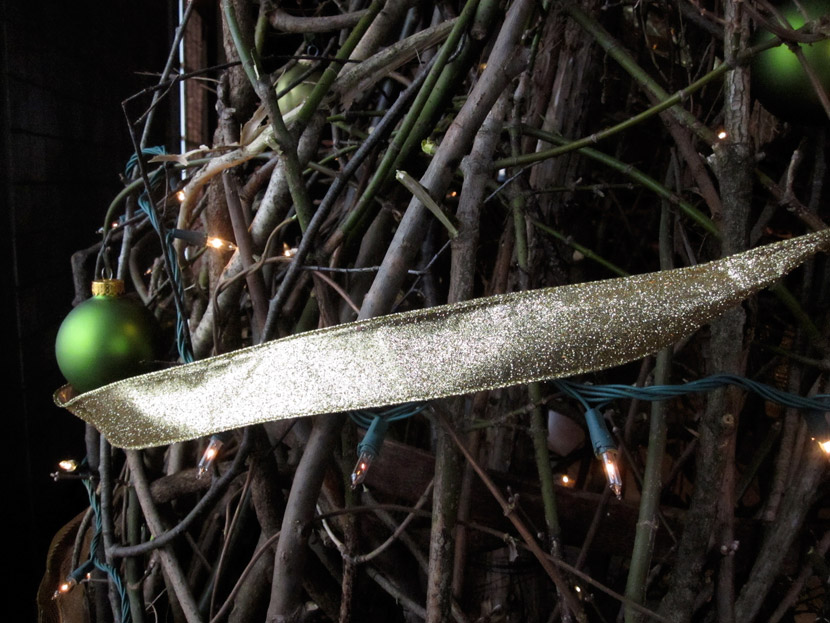
Tinsel Town
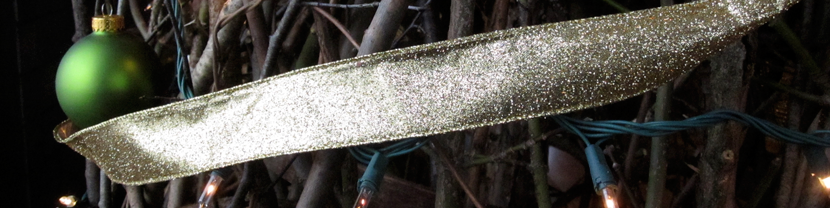
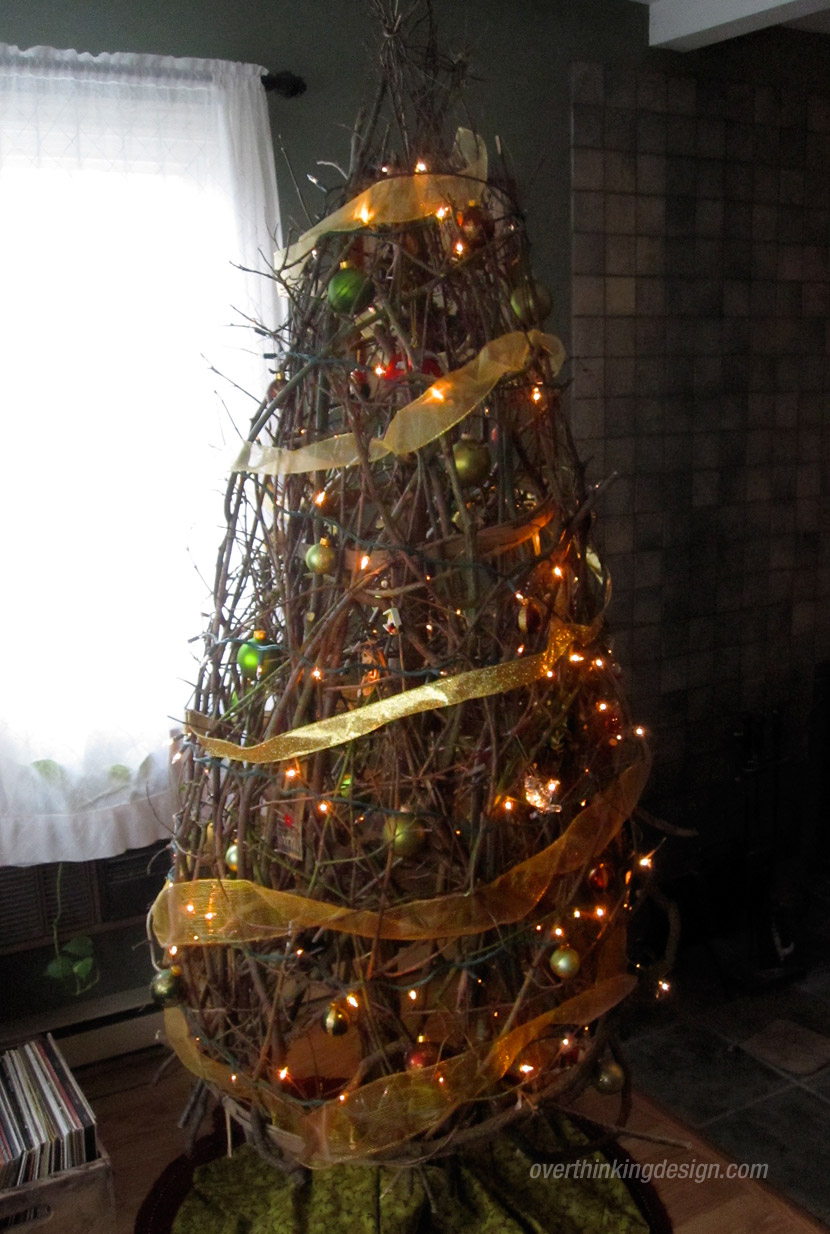
We then trimmed off some of the lower pieces that stuck all the way down to the ground and added a tree skirt. All that was left was decorating the tree. We decorated it very similarly to how we would decorate any standard tree. Lights, ribbon, balls and ornaments were all used. The balls and ornaments were placed deep into the tree at many points. Integrating them into the tree like this makes the whole thing feel more natural and cohesive.
And you’re done! A beautiful, rustic tree with personality in spades. Get creative and customize. And as always, if you end up making a tree based on these guidelines, please send a photo my way.

That’s really cool! Very creative!