I had an elaborate plan for this year’s Christmas tree, but when I explained it to my wife she wisely talked me out of it. We ended up with a much simpler strategy. And as is often the case, simple turned out to be beautiful.
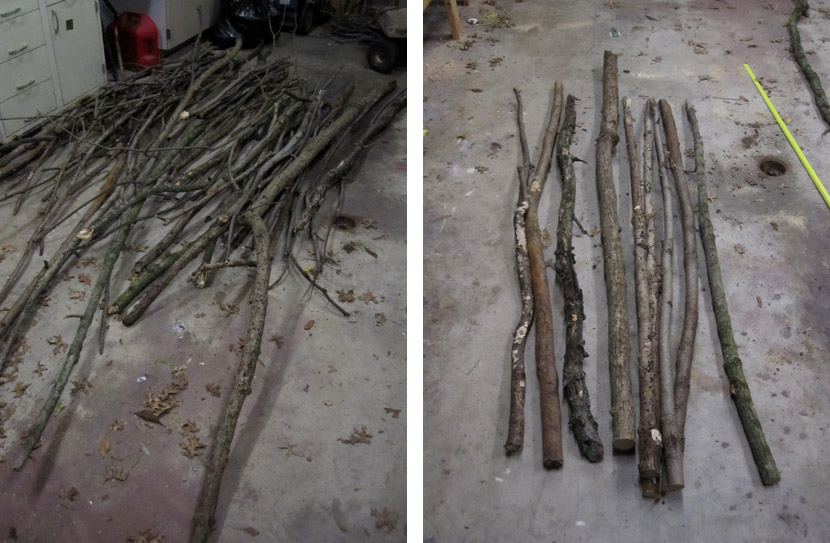
The goal was to imitate a sheaf of wheat. But instead of wheat, we used wood. And so the first step was to hit the woods and gather branches. They need to be fairly straight, of various thicknesses. A slight curve is fine (and will come in handy), but you don’t want sharp bends or jagged features. The length will depend upon the height of your tree. If you have an eight foot ceiling, your tallest pieces should be around seven feet tall (depending on how you do your topper). As you gather, don’t worry too much about height. You’ll be able to cut some of the longer pieces to end up with two usable sections. Focus on finding a variety of somewhat straight pieces.
Any time you gather wood that’s going to end up in your home, you need to consider bugs. Take the branches into the garage where they can thoroughly dry. Give the bugs time to find a better home. This was the second tree we made out of wood scavenged from the outdoors and we never had problems with bugs. Don’t bother with rotten wood—it’s not your friend. And watch out for overly-moldy pieces and branches that have growths on them. You don’t want to bring anything into the house that will mess with your family’s allergies.
The next step is to evaluate your collection. First, find a main trunk. This will be the tallest piece you use, so make sure it’s going to fit into your home. We used a thicker piece, though that’s not necessary. It should, however, be very sturdy and have no rotten sections. Next, find a handful of straight pieces that are six to twelve inches shorter than your trunk.
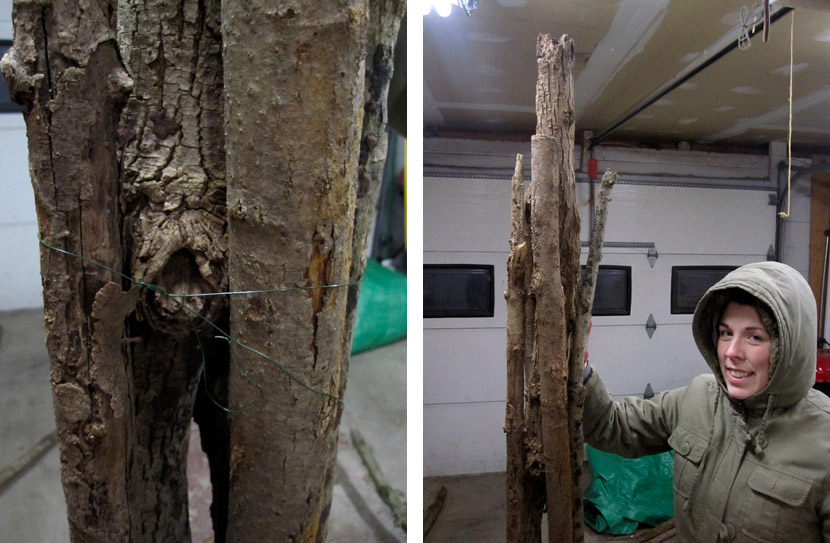
For this next step you’re going to need craft wire (or something similar) and a friend. My beautiful friend (my wife) held the trunk as I placed the smaller pieces around it. Keep everything as compact as possible—like you’re playing Tetris—as this is going to be the main support for your tree. If your pieces have a cut end, always put that end down. You want the upper ends to look natural. And always have the bottom end touch the ground. This gives the structure a natural look and makes it sturdier.
After you’ve assembled about six pieces, you’ll find your friend having trouble holding everything in place. Enter the craft wire. Bind the grouping near the top and the bottom. You can now add another round of pieces that are six to twelve inches smaller than the last round.
You’ll notice I’m recommending that the heights go down very quickly. The faster you downsize the pieces you attach, the narrower your tree will be. (And I’m strongly recommending a narrow tree or you’re going to end up with a beast of a creation.) After another round of additions, we realized it was time to move the whole operation into the living room. If we made it any larger, it was going to be too difficult to move, especially as it was only bound using craft wire.
Once in the living room, we moved it to the final spot where it was going to live. And note that we set it right on the ground—no need for a stand of any sort. We’re going for the full sheaf look.
It was now a process of adding more and more branches. My plan was to use smaller and smaller pieces so that the bottom would flare out as you proceeded. However, I found it best to simply angle the bottoms of the branches slightly away from the center, which created a natural curve to the shape of the tree. The angle increases as you progress, but is never extreme. And you want that curve, as it makes the structure look less harsh and more natural. You don’t want your end product to be a straight-sided triangle.

You’ll still need to secure the entire structure with craft wire every now and then. But it will soon get to the point where it can stand on its own, especially as you angle the outer pieces. I don’t think I used any pieces under three feet tall, and most of them were taller than four feet.
When you feel you’ve completed the basic structure, wrap the entire thing with craft wire at the middle and bottom one more time. The beauty of craft wire is that it’s strong yet flexible, and not easy to see. Plus as you add decorations, it provides you something on which to hang the ornaments.
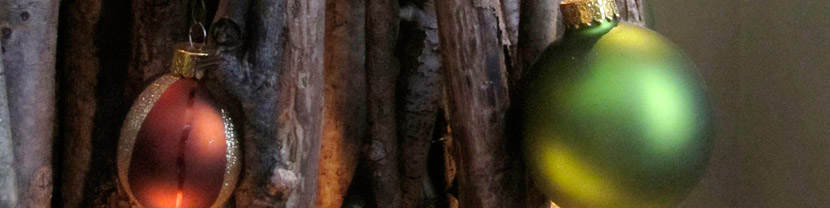
And decorating is the final step! Have fun with it. There are so many options, so get creative. We stuck with the decorations we already owned, although we did splurge and buy a dove for the tree topper.
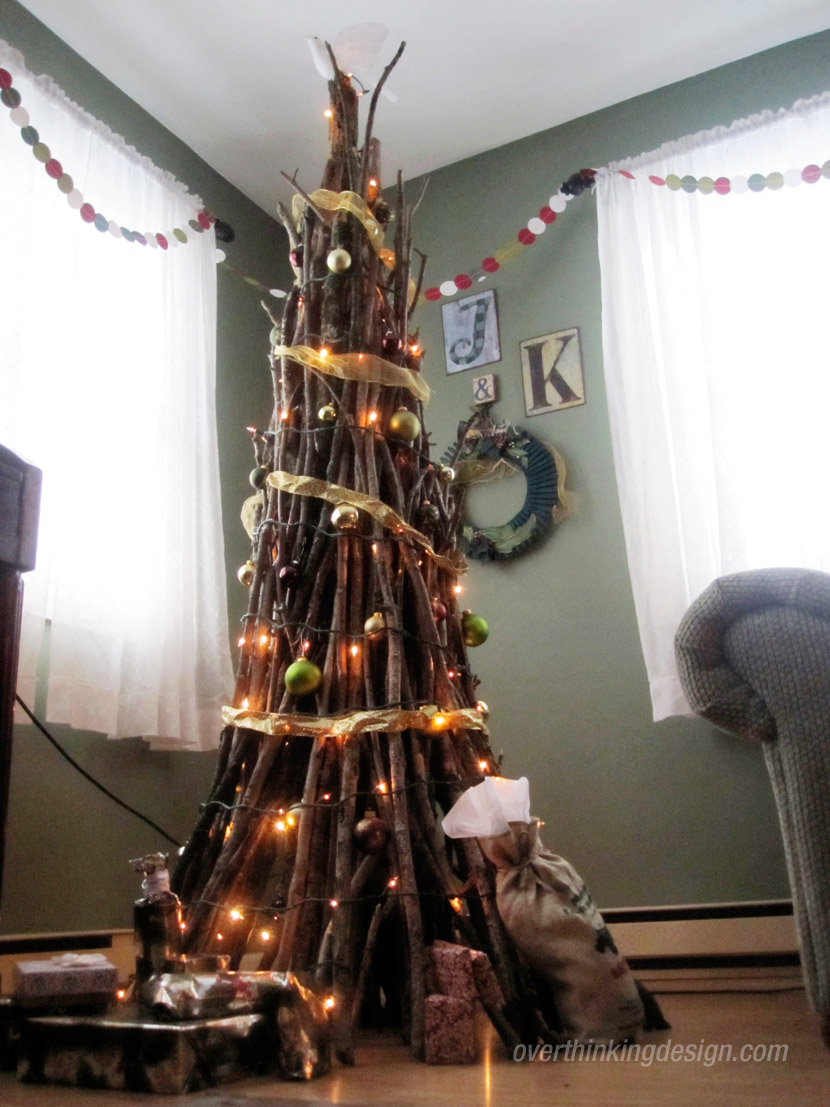
And that’s it! This is a relatively easy tree to put together if you plan ahead. To put it simply, it’s a pile of sticks. But it’s a heavy and cumbersome pile of sticks, so plan your steps carefully. If you create a sheaf tree of your own, please share a photo with me!

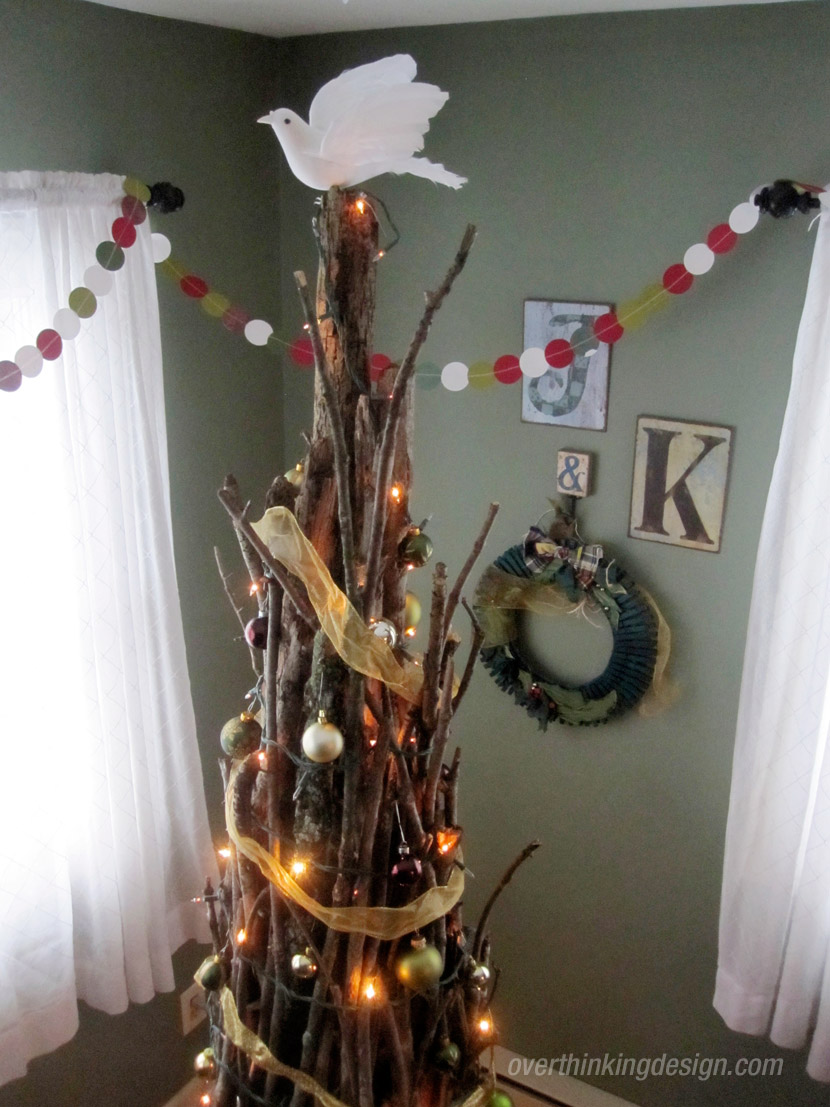


Where did u find the dove
Hi Teresa. The dove was hard to find. I eventually found it at Murdough’s Christmas Barn in Robesonia, PA. It’s an amazing place. They had the doves in multiple sizes. You can check them out here: https://www.facebook.com/pages/Murdoughs-Christmas-Barn/119218678142061